Worms have been recycling organic materials and returning it to the soil as worm compost or vermicomposting for millions of years. Regardless of how much outdoor space you have, setting up your own worm bin allows you to have your own worms eating your nutrient-filled food scraps and turn it into valuable compost that helps your plants grow.
Building your own worm bin and using it properly is relatively basic and you don’t need a ton of money or supplies to get started. In fact, many of the necessary supplies required might be lying around your house that you can recycle for the project. You can purchase commercial worm bins, but they are expensive and making your own will save money. The kids will probably enjoy the project of creating the bin and feeding the worms. It is educational and what’s not to love about messing with dirt and worms!
Setting up the Worm Bin
Setting up the worm bin is easy and you should have the project completed with the worms ready to start their composting in an hour or so.
- Acquire the bin where the worms will live and create the vermicompost for your use in the garden. When selecting a suitable size for the worm bin, select a plastic container that is approximately 30 cm x 45 cm x 20 cm or approximately 20- to 37-liters with a lid. Use a plastic container that isn’t opaque, as the worms do not like light and prefer darkness.
- Prepare the bin for use by washing it to remove any substance that could be harmful to the worms.
- Create drainage holes in the bottom of the bin by drilling about 20 evenly spaced 0.63-cm holes in the bin’s bottom.
- Create ventilation for the worms by drilling holes spaced approximately 2.5-cm to 3.8-cm apart around the upper sides of the bin.
- To keep the worms from escaping from the bin through the drainage and ventilation holes and to keep unwanted pests out, tape or glue pieces of screen over the holes.
- Prepare the worm’s bedding. Use moist newspaper, because like soil, the newspaper provides air, food and water for the worms.
- Use approximately 50 sheets of black and white newspaper torn into 2.54-cm strips. Do not use shiny colored pages with print, as it might be toxic to the worms.
- Place the strips of newspaper into a plastic garbage bag and add water until it’s moist like a wet sponge, but not dripping. If the newspaper becomes too wet, tear more strips and add to the bag.
- Add some grit to the bin to help the worm’s digestion. Use about 500-ml of sand or potting mix and place on top of the shredded newspaper.
- The worms eat the bedding so it requires replenishing every few months. The bedding material becomes dry over time, so moisten it with a mister and as it becomes compressed, fluff it back up using your hands.
Adding the Worms
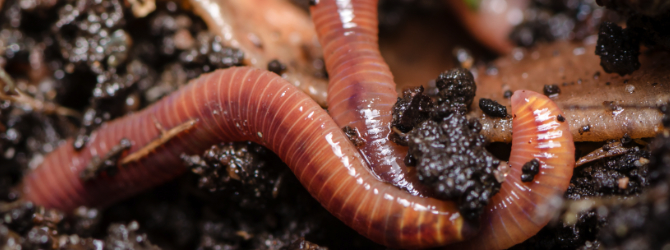
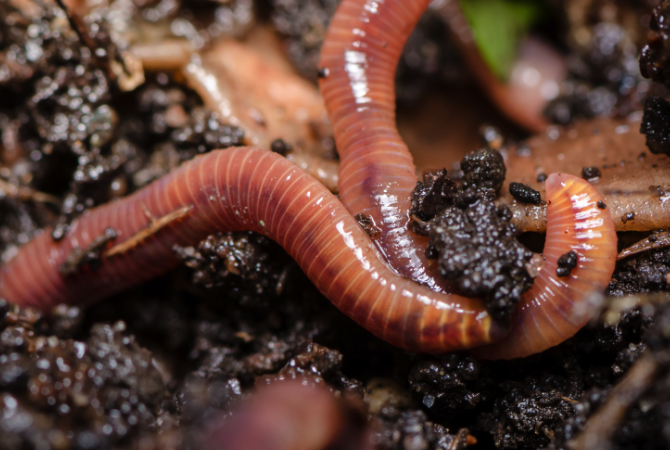
Next, you will want to add your worms to the worm bin. Add approximately 0.45-kg of worms on top of the bedding and they will slowly work their way down toward the bottom and inside the moist paper. When selecting your worms, make sure to get the proper ones. You will want to use red wigglers that usually can be purchased at bait shops.
Feeding the Worms
When starting a new worm bin you will want to start feeding the worms slowly at first while they adjust to the new environment. Start with approximately 0.22-kg of food for the first couple of weeks, slowly increasing the amount to approximately 1.36-kg. Add the food to the bin three times per week. When adding the food to the worm bin, create a shallow hole and place the food inside of it. Each time you add food, place it in a different location.
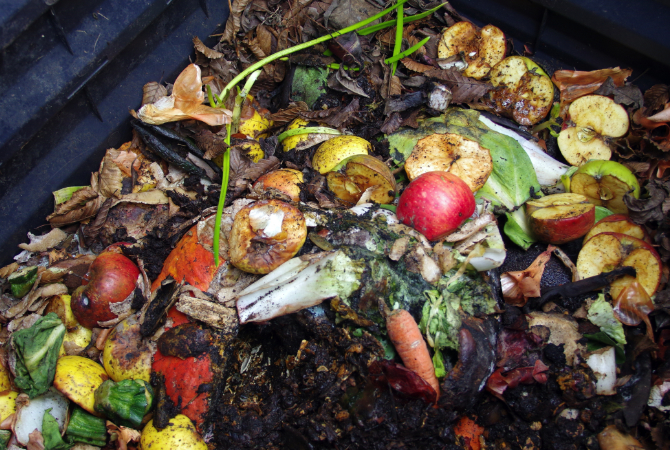
What to Feed Worms
Just like humans, worms have a preferred diet and you should think of them as vegetarians and not meat eaters. Therefore, do not add meat, grease, bones or dairy products to the bin. Before adding scraps to the worm bin, break them up into smaller pieces and bury them. After adding the food, place the cover on the bin. Foods worms prefer include:
- Grains and bread
- Cereals
- Coffee grounds and filters
- Fruits, including rinds, peelings and cores
- Vegetables
- Tea Bags
Troubleshooting Potential Worm Bin Problems
Most problems are associated with the care of the worm bin and are easily fixed. Below are some of the common problems you might run into when caring for the worm bin.
- Worms are trying to escape the bin or are dying: The bedding is probably too dry, too wet or used up. Solve the problem by adding more bedding, moisten it or harvest the worm bin.
- Smelly Worm Bin: There isn’t enough air in the bin, the bedding is too wet, or there’s too much food in the bin. Solve the problem by adding more bedding, reduce the amount of food or add more ventilation holes.
- Fruit Flies: Fruit fly problems are associated with exposed food and the problem is solved by burying the food.
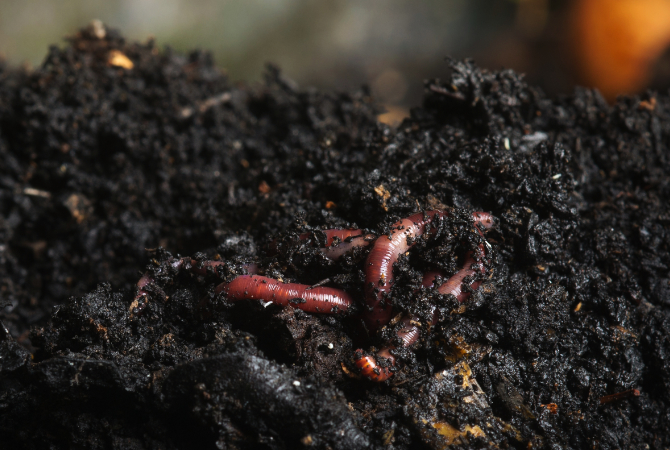
Harvesting the Vermicompost
After about three months, the vermicompost is ready for harvesting and to keep the worms healthy they need separating from their castings. When harvesting the vermicompost and separating the worms from it, look for worm eggs, which are light brown, shaped like a lemon and only the size of a match head. Each egg contains up to 20 worms, so you will want to collect some to put back into to the worm bin with the worms when you refill it with new bedding.
The easiest way to harvest the vermicompost is to empty the worm bin’s content onto a tarp spread out in a sunny location. You can either leave the entire contents of the bin in one large pile, or create several mounds. Wait approximately 20-minutes and the worms will work their way out of the sunlight and into the compost pile. Remove the worms from the compost and place them back in the fresh bedding in the worm bin.
Using the Vermicompost & Castings
If you don’t have a use for the harvested vermicompost right away, you can store it for later use as a slow-release fertilizer or soil amendment. When used as a fertilizer, spread about 2.54-cm to 5-cm around plants, being sure not to butt the compost against plant stems. You can also use it as a top dressing to container plants. If using it as a soil amendment, blend it into the potting mix or soil.
Used worm castings make a great foliar nutrient when processed into a compost tea, which can be used when watering or sprayed directly on the plants. Place 30-ml of castings into a cloth bag and place the bag into 1-liter of water. Allow it to sit overnight and remove the bag. Use the mixture on the plants.