Making your own compost is one of the single, most effective ways you can create sustenance for your garden. Not only can you create high quality organic matter for free, composting allows you to seamlessly recycle the majority of your kitchen scraps and yard debris. It’s a win-win any way you look at it. And if you’re in a hurry for your compost to be done (like right now during planting season) or you want your compost to be contained, using a compost tumbler might be just the right thing to get you merrily on your way.
Composting tumblers are barrels made to hold your compost materials and be easily rotated to speed up the composting process. All of your compost is contained securely within the chamber, so you won’t have to contend with annoying flies, unsightly piles, or rats and/or dogs getting into it. Simply fill it with yard and kitchen waste, add some manure or finished compost if you like (to give it a good kickstart), and then turn it once or twice a week. With a good tumbler and frequent tumbling and, you can have rich, amazing compost in l4-6 weeks!
How To Build Your Own Compost Tumbler
Here at GrowSeeds, we’ve been experimenting with creating our own composting tumblers. If you’re at all handy, you’ll probably find it as easy and as fun as we did.
Materials
- 225 litre plastic drum with lid (try to get one that’s food grade, or at least hasn’t been used for fuel or other chemicals)
- 40mm pipe
- Some plywood or cardboard
- Some pallets or other thick blocks of wood about half and inch thick
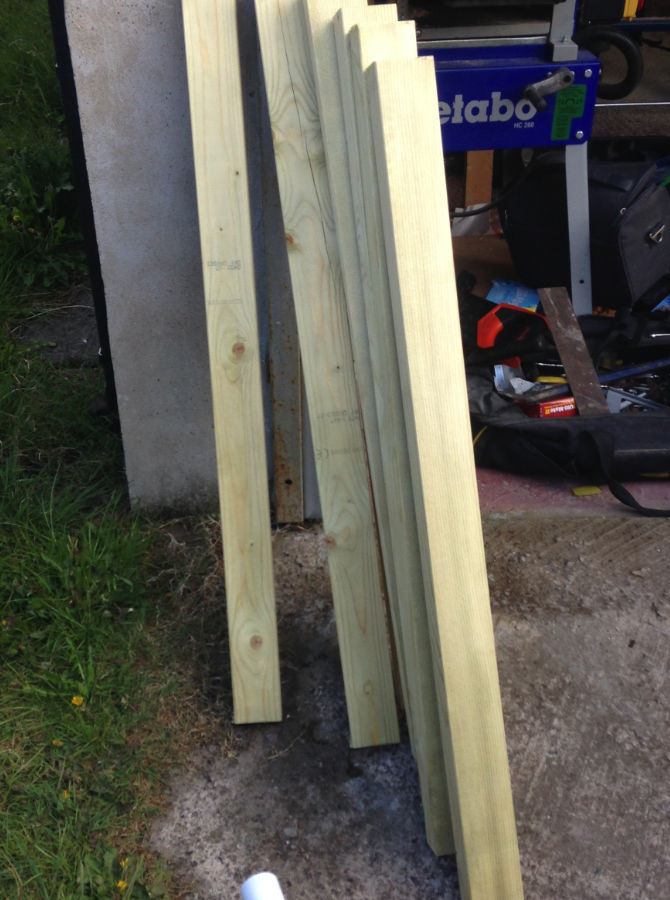
- 3 x 2
- Screws
- Vibrating saw or similar
- Cordless Drill
- Marker
Directions
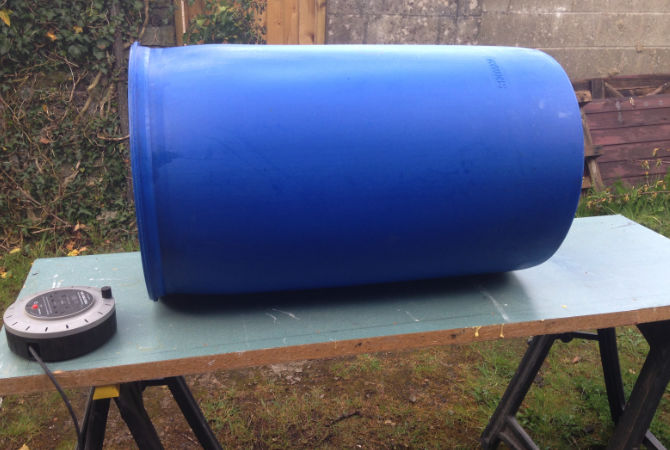
1. Place the drum flat on a workbench – we just used two stands and an old worktop.
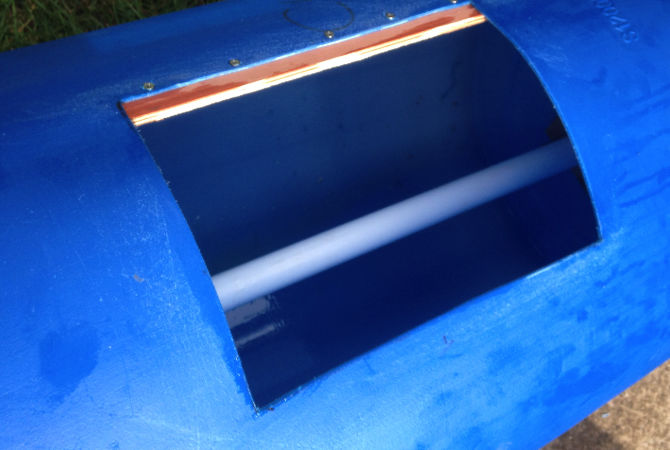
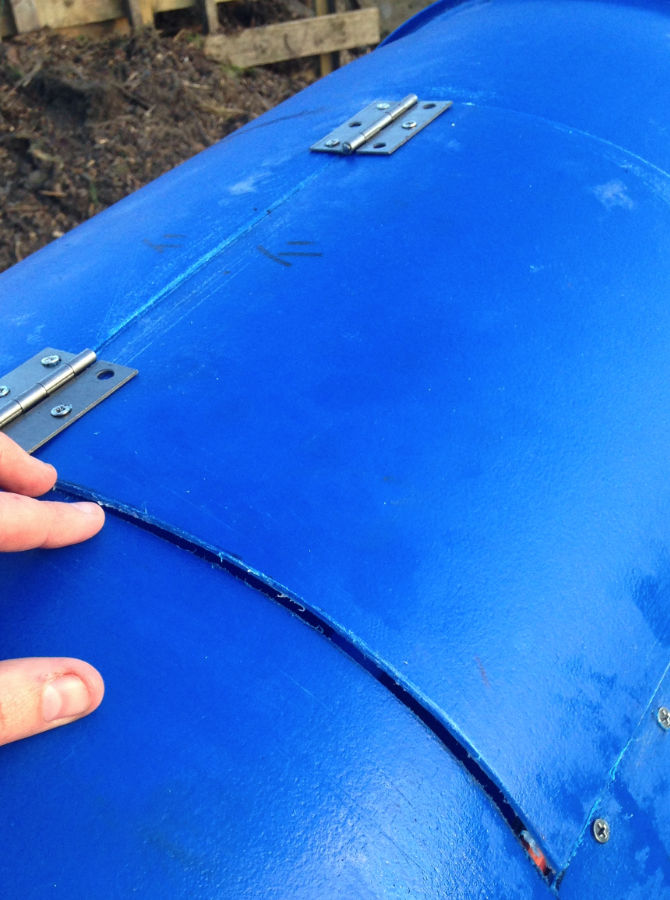
2. Next you’ll need to mark out where the door will go. For this we’ll use either a piece of cardboard cut to the size you want or a bit of 9mm plywood. Once you’ve created your template, mark around it.
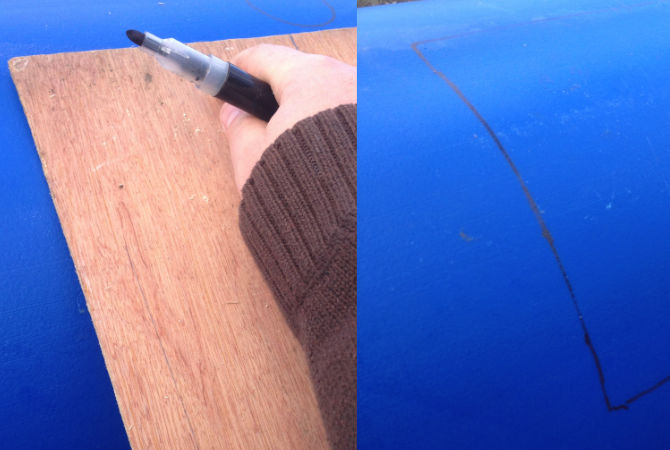
3. Once you’ve got your door marked, it’s time to cut it out (we used our handy dandy vibrating saw).

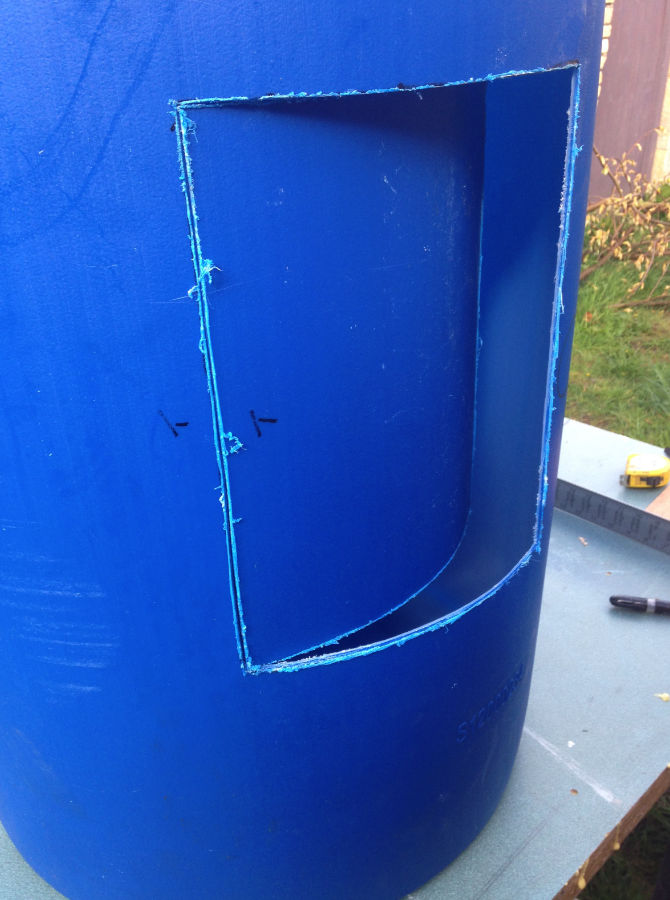
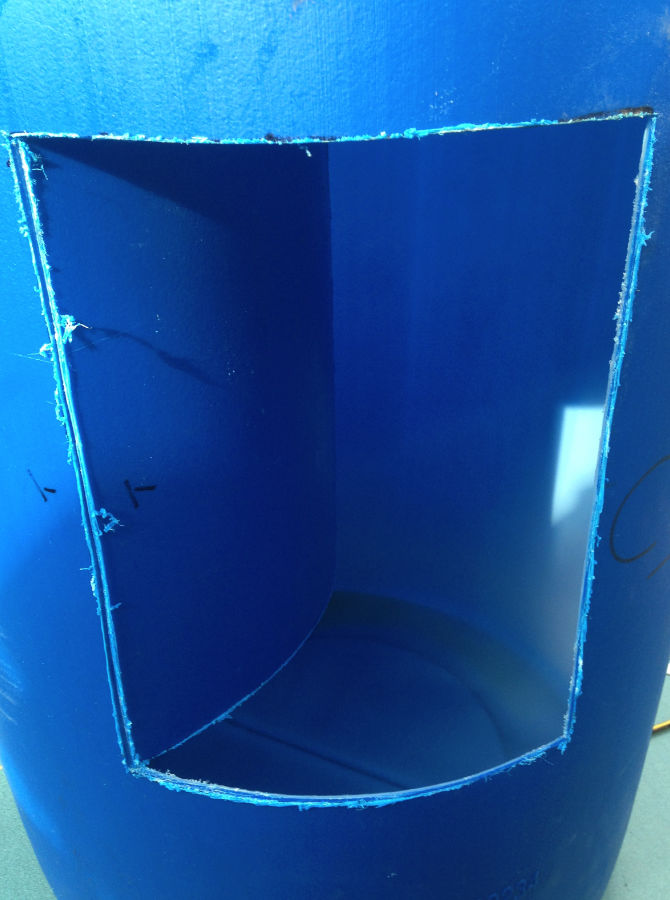
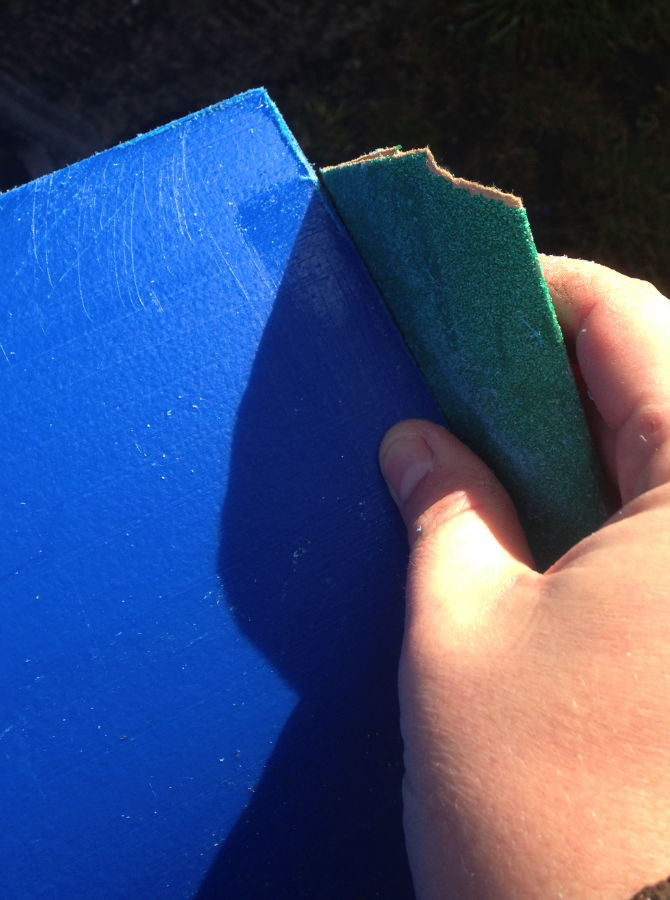
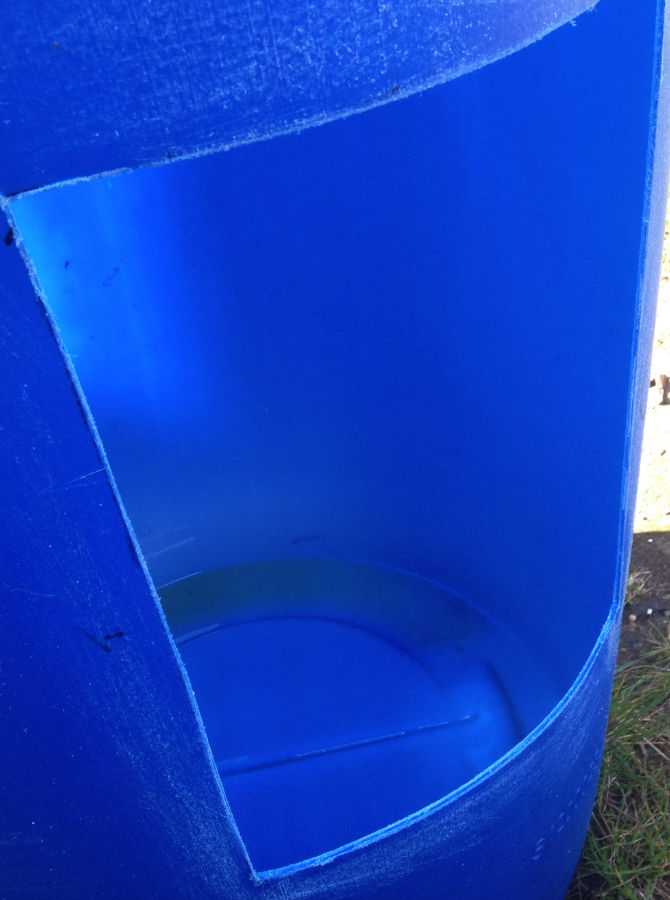
4. Once cut, take a bit of glass paper and smooth all the edges down on the door and on the drum.
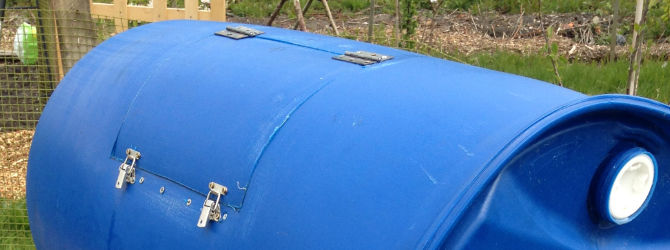
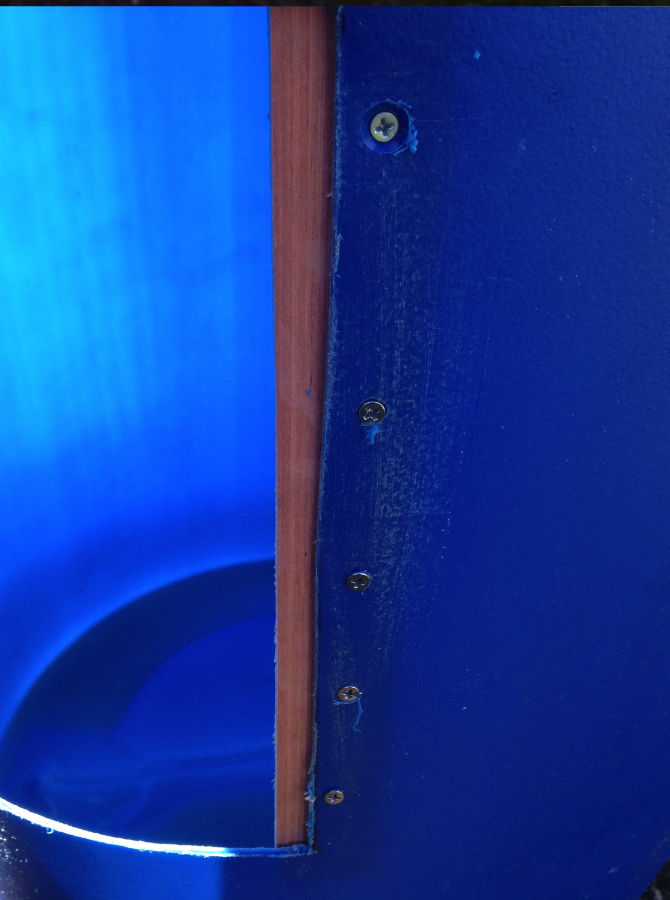
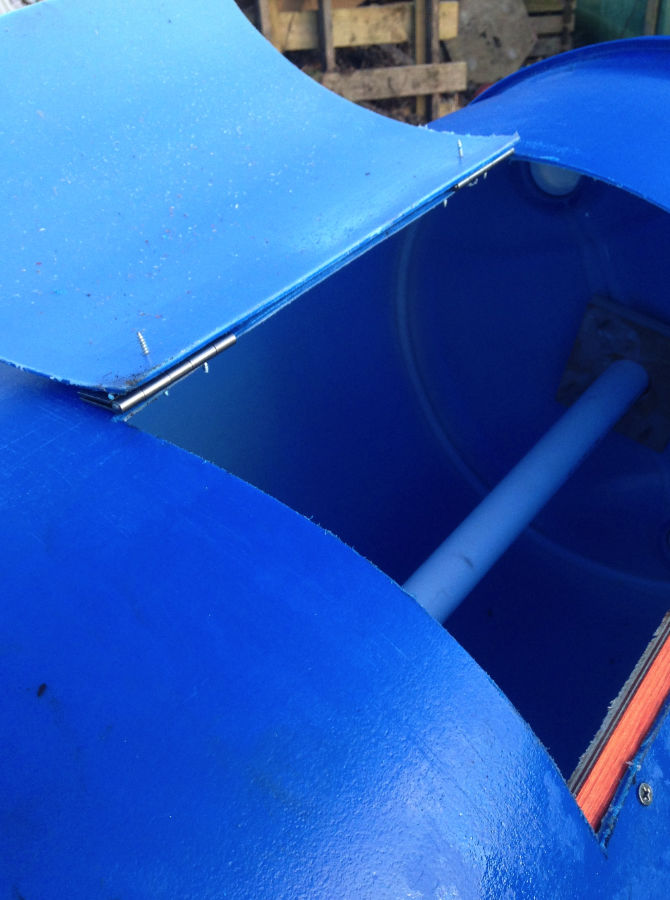
5. Next, take some scrap plywood (or a pallet runner) and place it on one side of the door inside the drum. This stops the door from folding in on itself.
Hold the piece of wood in place with clamps until you get it screwed in.

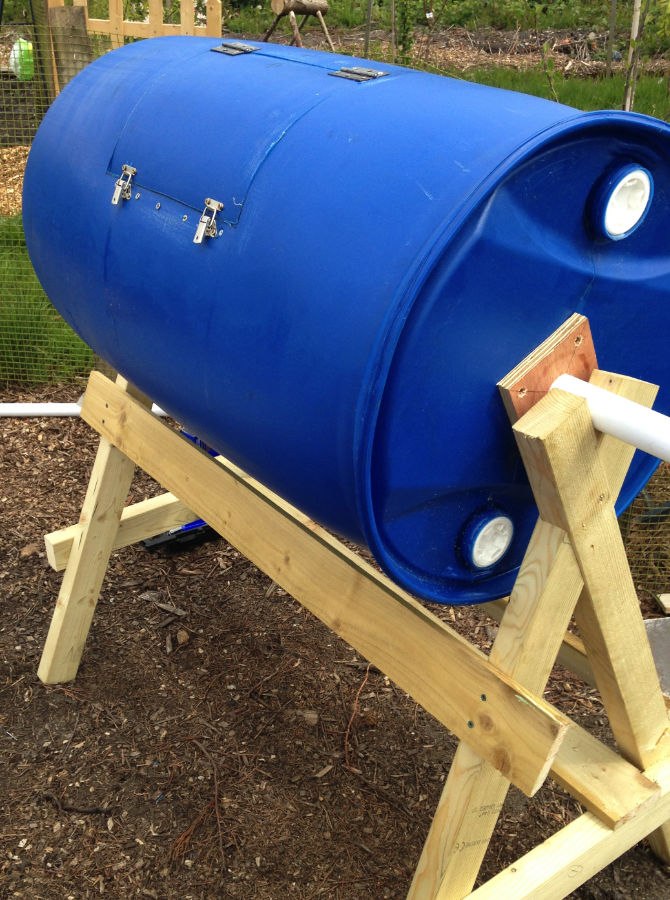
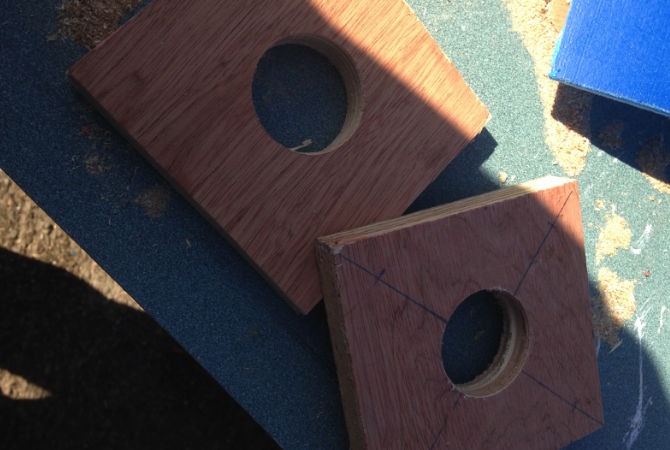
5. Next, we need to add blocks of wood to the ends to help distribute the weight where the pole will go.
Choose four blocks of plywood and drills holes in their centres with a 40mm circle saw. The blocks don’t need to be super huge—just big enough to give support.
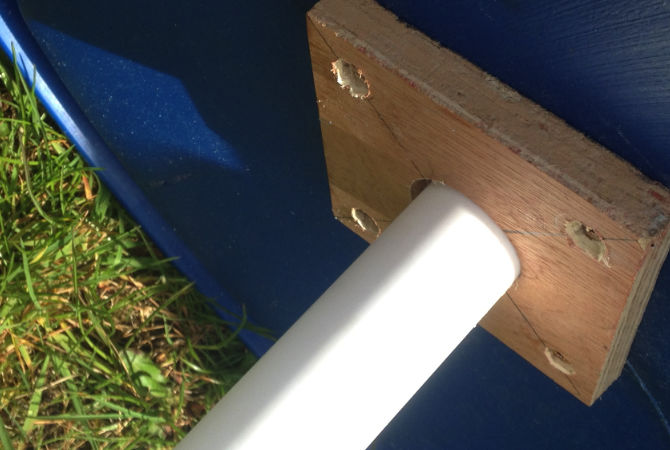
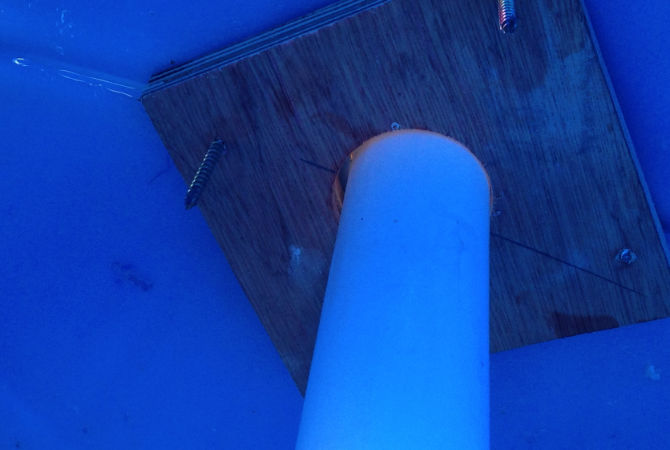
6. Cut a 40mm hole at either end of the drum (try to get this exactly in the centre).

6. Place one block of wood one on the outside and inside of either end of the drum. This gives the hole extra support so the weight is shifted evenly around the drum and not resting on the one small cut.
(These pictures show them after the tube has been inserted.)
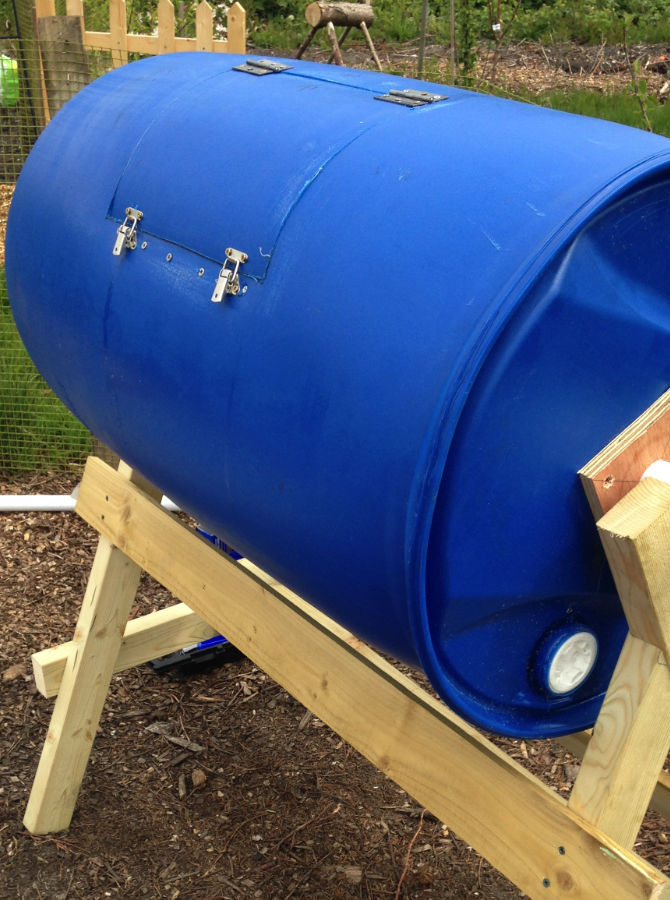
6. Next we need to make the base.
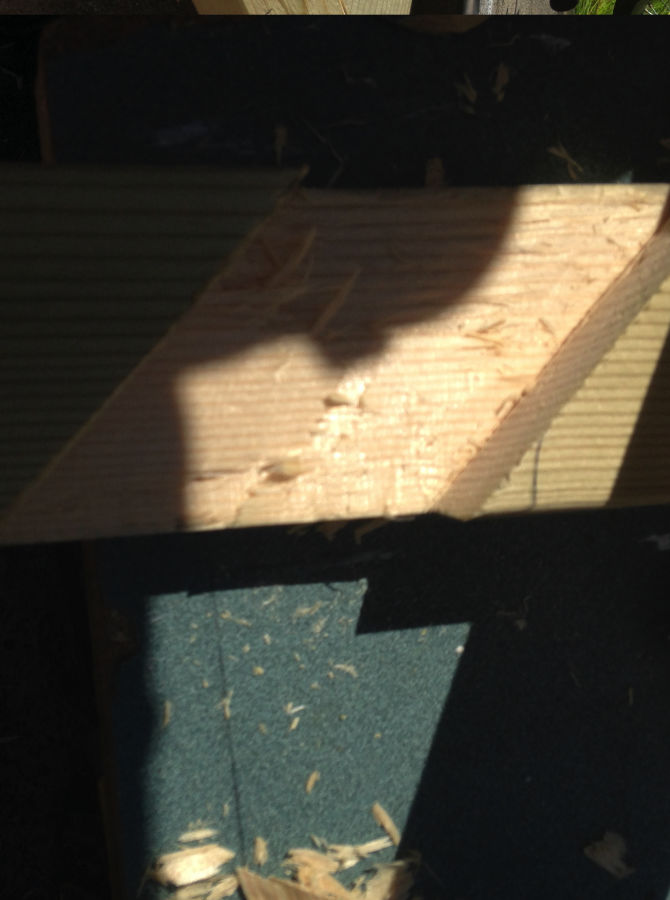
Cut some 3x2s into 1.2m lengths. Notch out where the wood crosses and make an A frame with a brace at the bottom.
Here’s what the notch looks like:
And here’s the finished brace (one side only):
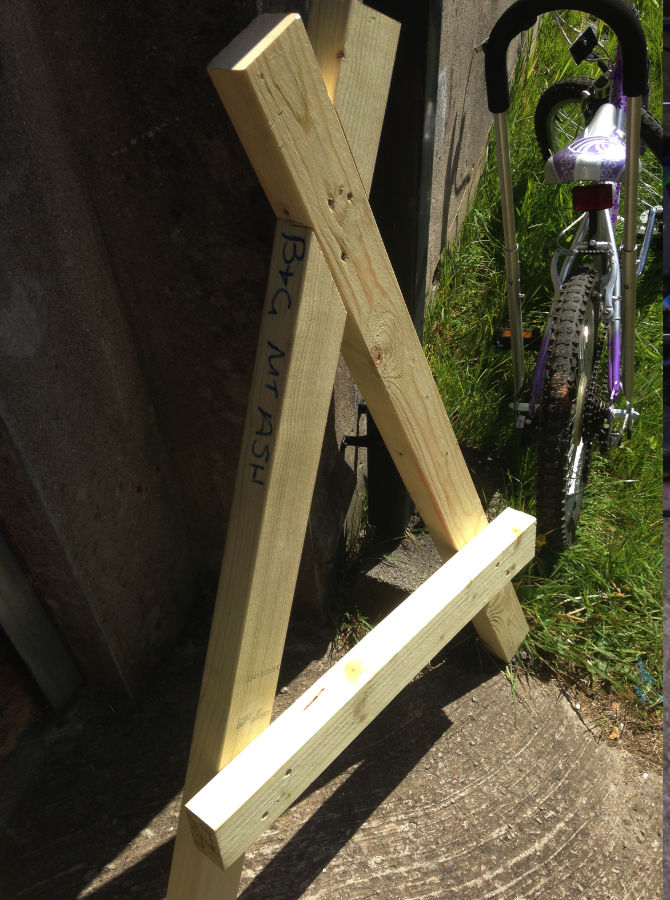
You’ll need two of these to make the stand. You want the length of the timber to allow for your wheelbarrow to pull under the tumbler.
7. It’s now time to complete the door. Attach some hinges and a clip and you’ve now got a completed compost tumbler.
And here’s your finished tumbler!
So while this model is inexpensive and easy to make, there are some enhancements you can make to make it easier to use. When it’s full it can be a bit hard to turn, so adding handles is recommended. Also, it wouldn’t hurt to make your door a bit bigger than the one in these pictures. Id also suggest adding some timber to the walls of the drum inside or on the tube to act as a fliper so it actually helps lift the compost and turns it over.