When you think of Christmas what do you see? A big Christmas tree covered with fairy lights? Snow falling on the ground? Or, a colourful plate of Christmas vegetables?
There’s no denying that the best part of Christmas is eating a delicious dinner? However, as the world advances and more people are moving towards online food orders when their food is delivered to their front door, we’re becoming detached from how food is produced.
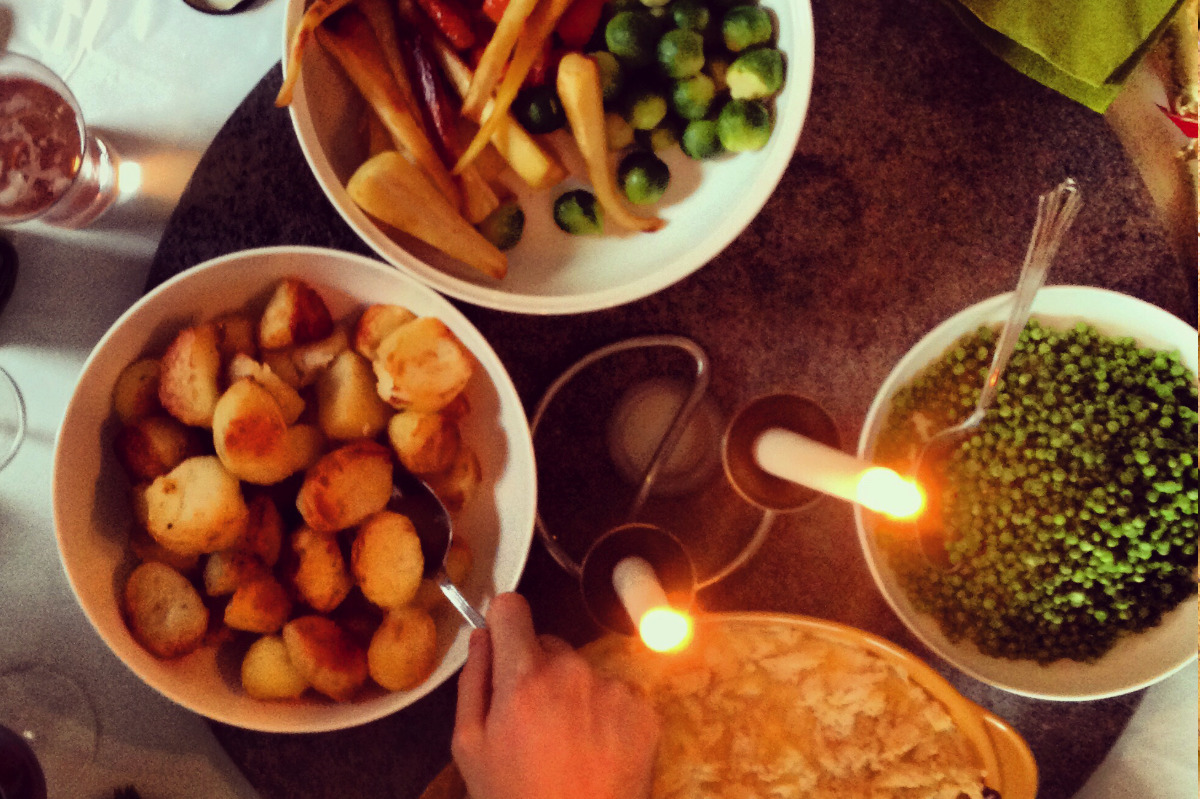
When you sit with your vegetables in front of you on your plate do you ever wonder how they got there? Or, maybe you’re already growing your own. Well, no matter which option you are, you’re reading this because you’ve decided you want to grow your own Christmas dinner.
Thankfully, you’ve come to the right place. This article will give you all the essential information for growing, caring, and nurturing your vegetables so you can treat your family and friends to a delicious Christmas meal next year!
Ready to start? Let’s break down the list of the most popular vegetables used during the festive season…
- Carrots
- Potatoes
- Parsnips
- Swede
- Brussel sprouts
- Broccoli
- Cabbage
- Cauliflower
- Horseradish
- Peas
First, we’re going to start with the sunset coloured carrot.
How to Grow Carrots For Christmas Dinner
Carrots are a staple in any home because they’re delicious and add a lovely colourful touch to your dinner plate. Not only are they popular, but they are also available in different varieties.
To begin, you need to sow carrot seeds around March-June. However, there are two types of carrots you can choose from the early varieties and late varieties. For the early variety, you can sow the seeds in spring and will be ready to pick after 10 weeks.
Whereas if you prefer the late variety then you can sow the seeds at the end of spring but you’ll have to wait 14 weeks before you can pick them.
So, how do you grow carrots once the seeds are ready?
Growing Carrots
Soil: light, well-drained soil
Plant: directly into the ground at 1cm and space each seed 5-8cm apart
Water: cover with soil and water well
Care: make sure weeds are not surrounding the carrots
Problems
As long as you follow these simple steps you can’t go wrong growing carrots. Although, you might occasionally run into some problems during the growing period. Luckily, carrots are quite easy to grow but they can be affected by carrot fly.
What is carrot fly?
These fly maggots eat tunnels into the crop and can damage your carrots. To avoid this you can place a mesh fence around the area as long as it’s 45cm high.

Storing Carrots Ahead of Time
Once you have your carrots ready to harvest you’ll need to figure out where to store them. Did you know that you can store carrots for up to two or three months?
As long as you place them in a vacuum-sealed bag in the refrigerator they should be able to last for a long time. You need to make sure that you keep them out of sunlight and air. When it comes to placing them in your refrigerator you should ensure that they keep away from other vegetables.
How Do You Know if the Carrots Are Bad?
If you’re storing them in advance for your Christmas dinner then you’ll need to make sure they keep fresh. For those people who like to peel their carrots then you’ll have to keep an eye out for signs that your carrots are slim and soft.
Once they lose their rubbery texture they won’t be good to eat.
When to Grow Carrots Before Christmas
You need to grow carrots in late April but if you want to avoid carrot flies then you can grow them in late May or early June.
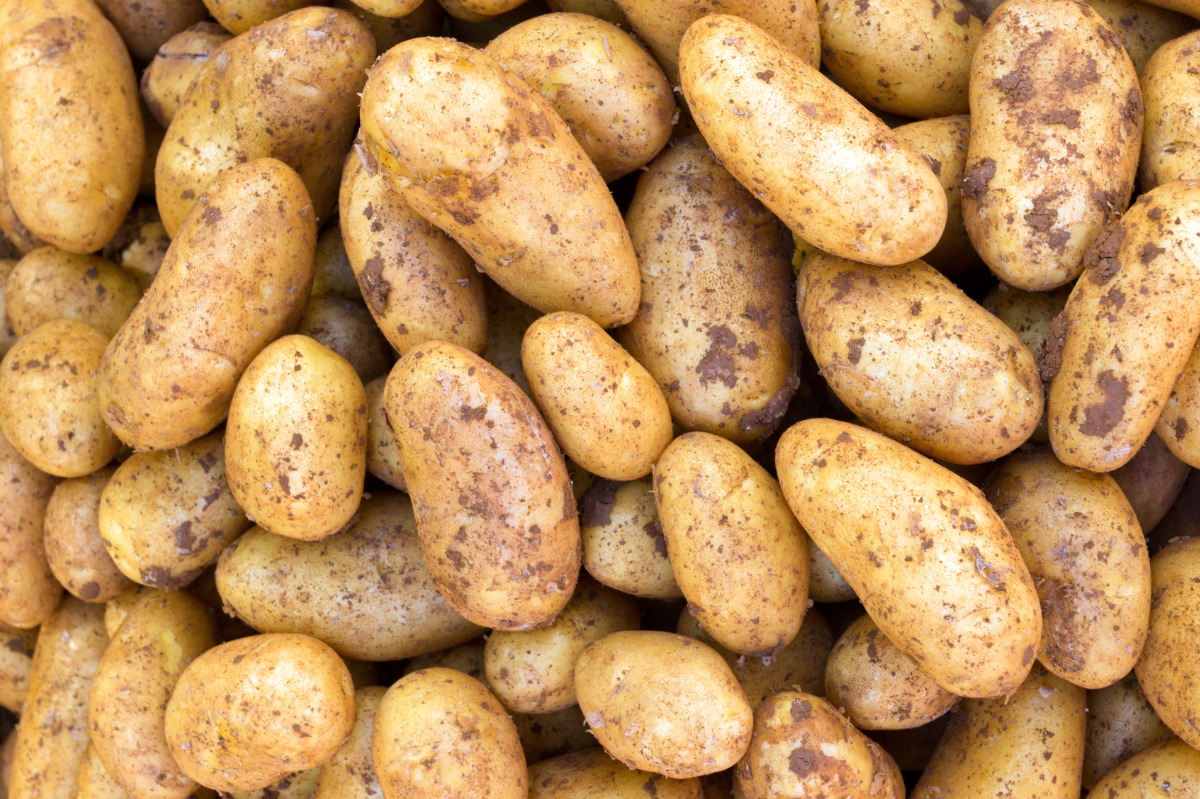
How to Grow Potatoes For Christmas Dinner
Potatoes are the ultimate comfort food which is why you need them for your Christmas meal. The great thing about potatoes is that they come in many different forms such as new potatoes, roasters, and humble potatoes.
Do you have a favourite? If so, then why not grow it!
You don’t even need a huge acre of land, you can grow potatoes in pots on your balcony or patio. Before you begin planting you need to decide if you’ll be planting new potatoes or maincrop potatoes.
For new potatoes, you have to prepare them in mid-March. Whereas maincrop potatoes should be planted in April. That being said, it depends on where you live and the climate condition you have for growing vegetables.
If you live in a hot environment there’s a possibility of growing the third batch of potatoes in late summer and still being able to have them for Christmas!
However, for an early crop, you can always chit your potatoes. Check out our other article for more information on chitting potatoes.
Growing Potatoes
Soil: rich soil in a sunny location
Plant: large pots or 12cm deep and 30cm apart
Water: regular waters especially in warm weather
Care: cover the shoots with soil
Problems
There are only a few problems that come with growing potatoes. For example, slugs and potato blight. One of the best ways to avoid pests and diseases is making sure you plant potatoes in fresh soil every year if you plan on repeating crops.
That’s all you need to make delicious potatoes for winter!
Storing Potatoes Ahead of Time
Now, you might be asking yourself, how long can potatoes last at room temperature? Can potatoes last in refrigerators? Or, can you keep potatoes in the freezer?
The good news is, potatoes can last quite a long time before turning bad. The first thing to know is, you should never store potatoes in the fridge. This will turn the starch into sugar which will make them very sweet for cooking.
That being said, you can store potatoes in a cool, dark place as long as they are kept in a bag with plenty of air circulation. If you decide to store your potatoes in a cool place then they will last for two months.
That gives you enough time to store them before Christmas!
How Do You Know if the Potatoes Are Bad?
Potatoes have turned bad as soon as they go soft and shrivel up. In addition to this, they could develop a sour smell. Before this stage, you might notice some sprouts growing from the potatoes which is an indication that the nutrients are leaving the potatoes.
However, they might still be good for a while before you need to throw them out.
When to Grow Potatoes Before Christmas
If you want to grow potatoes for your next Christmas dinner then you’ll have to plant them in August at the latest
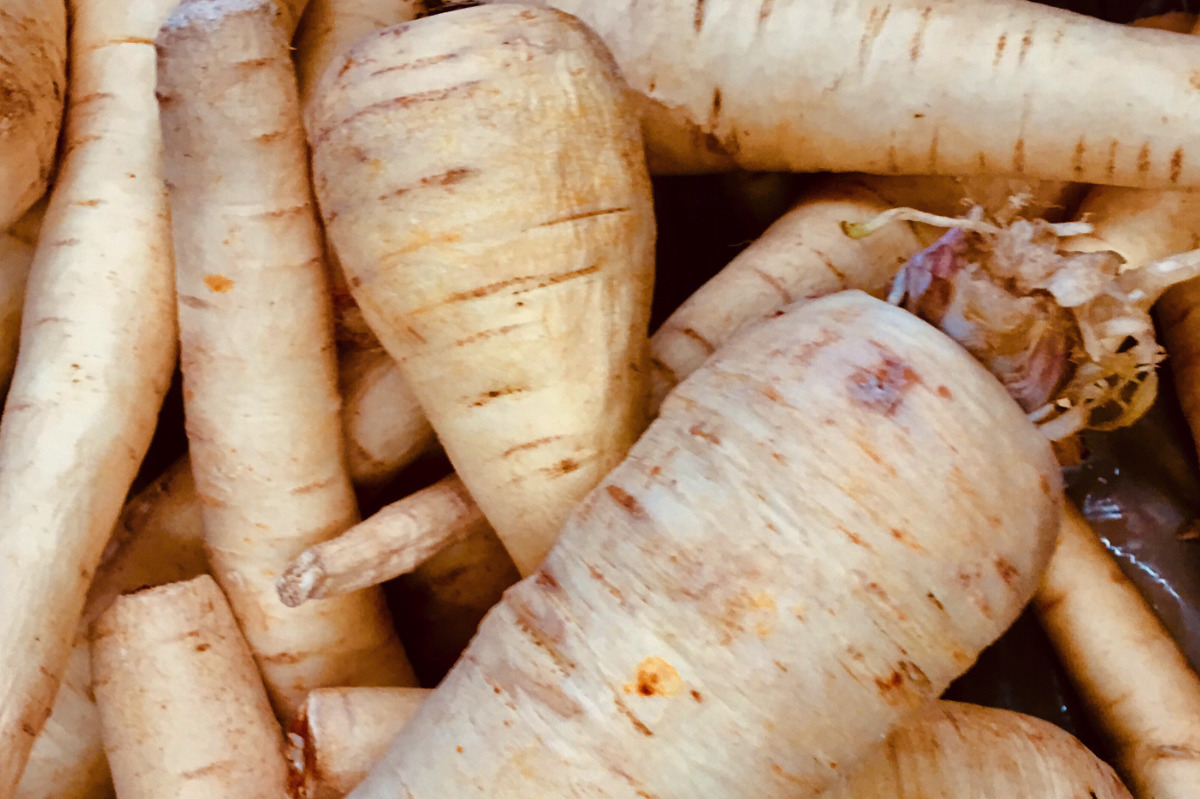
How to Grow Parsnips For Christmas Dinner
If you want a bit of a challenge then growing parsnips from scratch could be for you. Firstly, they can take many weeks to germinate but there are ways to speed up the process so you can have your crop in time.
So, what do you need to sow parsnip seeds?
You need seeds, a polythene bag, peat-free compost, a trowel, and string.
- Fill the Bag
Fill up half the polythene bag with your peat-free compost. Then, place the seeds onto the surface of the compost.
- Mix It Up
Secondly, gently mix the seeds and compost together in the bag. You need to make sure that the seeds are evenly dispersed between the compost. Then, you need to place the bag in a dark, warm spot and leave it for four days.
- Check-In
After waiting four days you can check on your seeds. By this time they should have germinated and there should be signs of the seeds growing through the compost.
- Plant Your Seeds
Remove your seeds from the bag and place them in the ground around 10cm apart from each other. Cover them with a thin layer of soil and water them. Then, watch them grow!
Growing Parsnips
Soil: moist soil
Plant: a sunny location that is stone free
Water: don’t overwater the soil
Care: no feeding and should be weed-free
Problems
Have you ever noticed a brown, orange, or purple coloured rot at the top of your parsnip? Then, it might be a parsnip canker. This disease is caused by drought, overly rich soil, and damage to the crown of the parsnip.
The good news is, you can remedy this problem with proper drainage, avoid damaging the root, and wait until the correct time to sow the seeds. You can sow parsnip seeds from April-June.
Storing Parsnips Ahead of Time
Luckily, parsnips can last a long time if you store them correctly. To break it down you can store parsnips for 1 month in the refrigerator, 6-9 months in the freezer, and 4-5 days on the countertop. However, the best way to store them is in the refrigerator to keep them fresh.
How Do You Know if the Parsnips Are Bad?
Are you worried that your parsnips have turned bad? Well, if they are wrinkled or shrivelled up there’s a good chance that they are spoiled.
When to Grow Parsnips Before Christmas
To have them ready for Christmas you should sow parsnip seeds in spring so they’re ready in autumn.
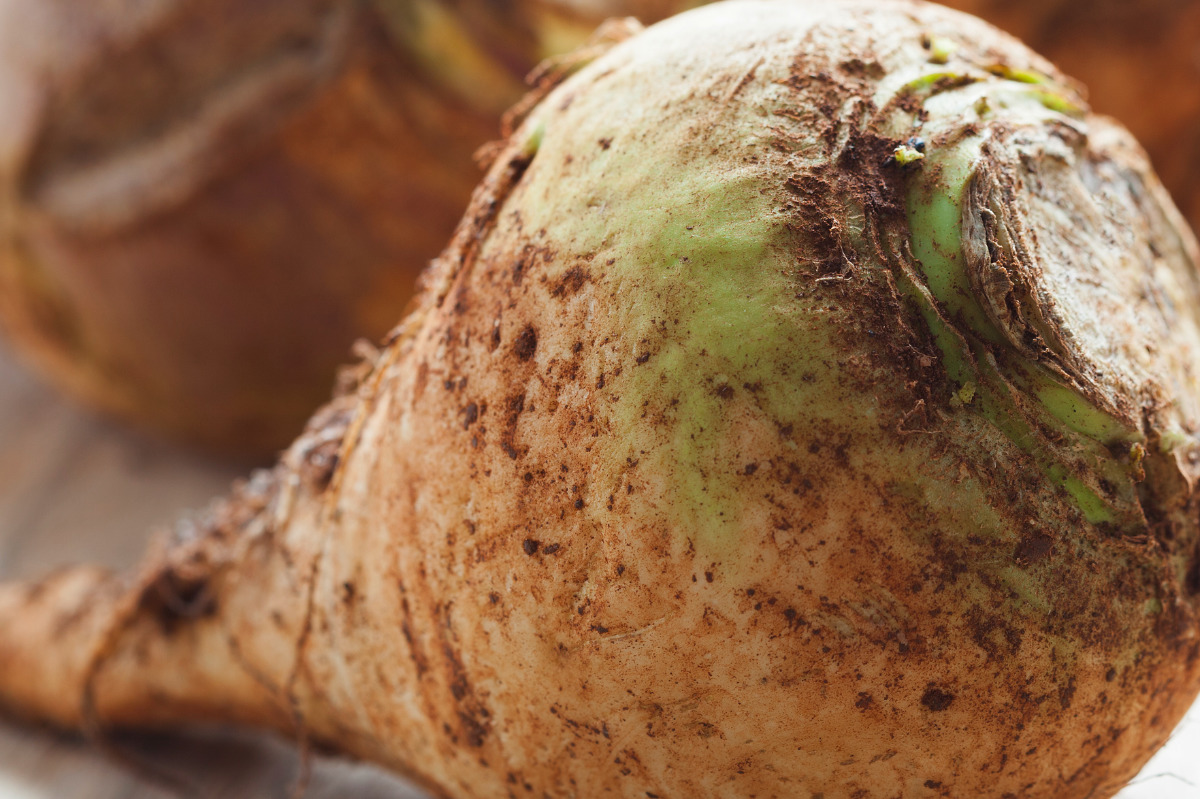
How to Grow Swede For Christmas Dinner
Do know that swede belongs to the same family as cabbage, cauliflower, and Brussel sprouts? If you’ve not tried swede then this year is the perfect time to try it.
Once swede is fully grown it reaches the size of a large apple. It has a gorgeous blend of purple skin, orange and yellow flesh, and produces small leaves on the ground. Plus, it has an unusual but tasty flavour of carrot, turnip, and radish combined!
Intrigued?
You normally sow swedes seeds in May and harvest in early October. But, what do they need to thrive?
Growing Swede
Soil: rich in nutrients (expert tip: sprinkle with blood and fish!)
Plant: plant 2cm deep
Water: regularly water and feed halfway through the season
Care: needs moisture and consistent watering to avoid ruining the taste
Problems
Cabbage root fly is the most common problem with growing swede. All you need to do is use horticultural fleece to protect your crop. Sometimes swede can also experience flea beetle and mildew but maintaining proper moisture and watering should avoid this.
Storing Swede Ahead of Time
Swede is another great vegetable for long-term storage as it can be kept for several months. The most important thing is that you keep swede in a cool, slightly damp place that is out of direct sunlight. If you store them in a place like this and don’t wash them they can be stored for months.
How Do You Know if Swede is Bad?
You only need to worry about swede if it’s mouldy, otherwise, it’s fine to eat.
When to Grow Swede Before Christmas
The best time to grow swede is in the middle of summer. After that, they should be ready about 10-12 weeks after that.
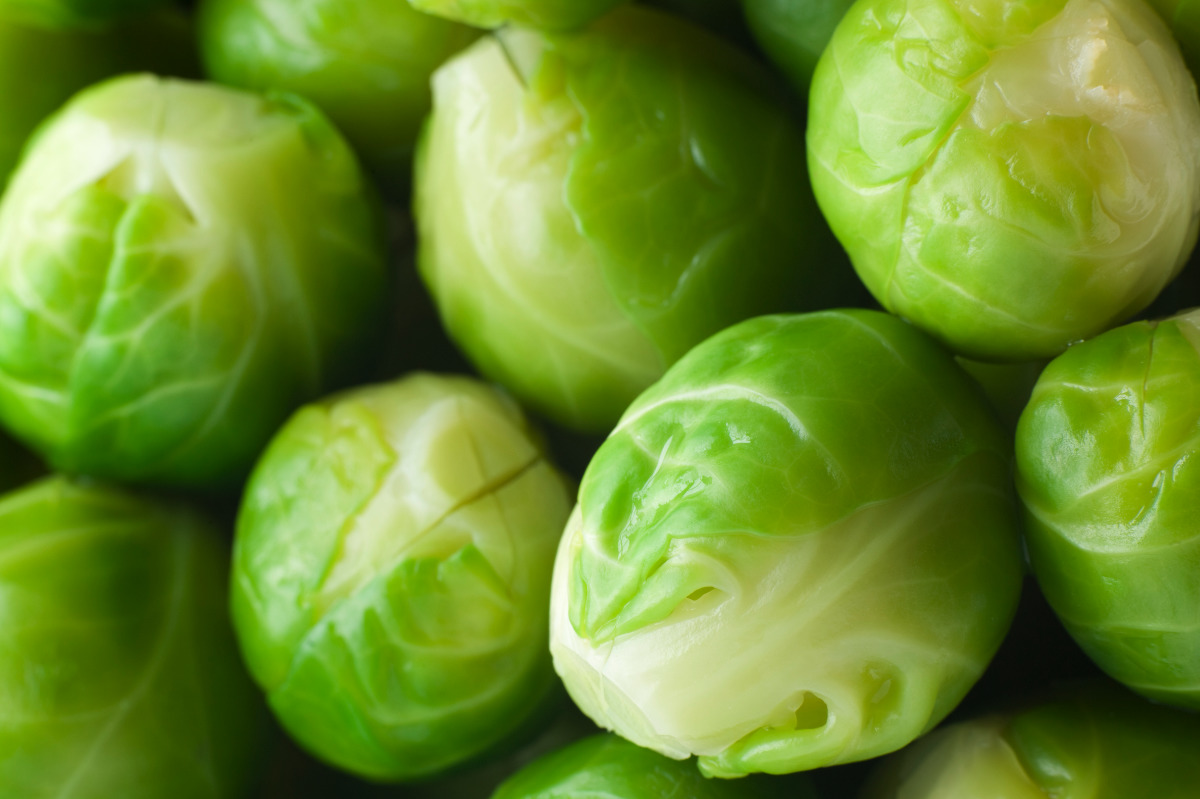
How to Grow Brussel Sprouts For Christmas Dinner
Of course, no Christmas dinner is complete with a bundle of Brussel sprouts. Do you have problems feeding your kid this vegetable? Then, maybe growing them from scratch with them will encourage them to get excited about this vegetable!
If not for kids, then try growing Brussel sprouts as a New Year resolution…
You should start planting Brussel sprouts in late spring and early summer. Then, they can be harvested about four months later which leaves you plenty of time to have them for the cold season.
Before planting them you can keep the seeds inside from mid-late May for four weeks until they are ready to be planted.
Growing Brussel Sprouts
Soil: soil with additional manure with lots of sun exposure
Plant: space 60cm apart
Water: water consistently
Care: mound soil around the base of stems for support
Problems
Clubroot and caterpillars can cause problems when growing Brussel sprouts. For clubroot, you should provide enough drainage and add a little lime to the soil. Whereas for caterpillars, you can place netting to stop them from getting to your crop.
Storing Brussel Sprouts Ahead of Time
The best way to store Brussel sprouts is in a plastic bag away from other foods. Alternatively, you can store them in the freezer as long as you blanch them before. To do this, you can use a blanking basket and place them in boiling water for 10 minutes.
How Do You Know if the Brussel Sprouts Are Bad?
Most people say that you can smell when a brussel sprout has turned bad. This is the easiest way to tell as the smell becomes strong almost like old cabbage.
When to Grow Brussel Sprouts Before Christmas
Grow your Brussel sprouts in mid to late summer so you can have them ready for winter.
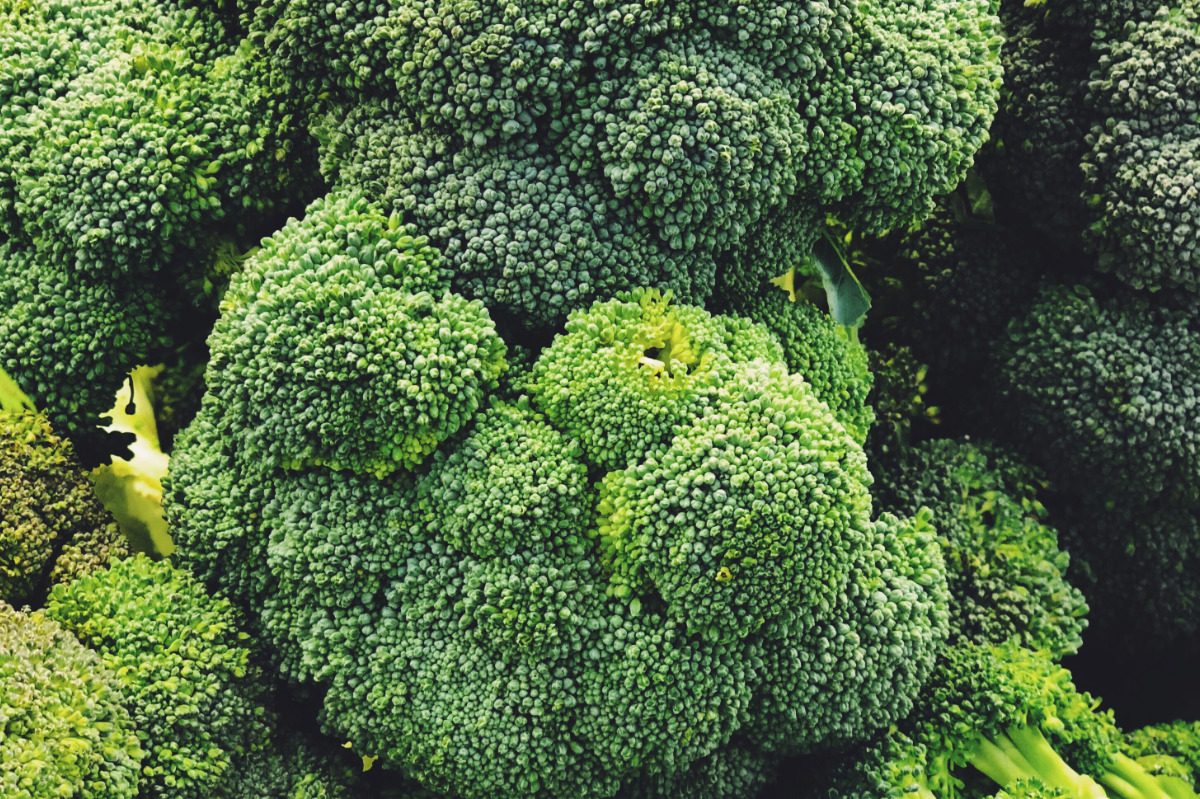
How to Grow Broccoli For Christmas Dinner
Adding a little green to your Christmas plate will make your meal even more delicious. And, what’s better than broccoli as a green vegetable?
Even though growing broccoli can seem daunting as it can be tricky to get the process right, you don’t need to worry about getting wrong as this step-by-step guide will help you. To begin with, you should start with them indoors 4-6 weeks before the last frost of the year.
This is especially important if you live in a cold area. However, if you live in a warmer location you can plant them in the soil in early spring. The good thing is broccoli seeds are sturdy so they can survive lower temperatures if winter lasts longer into spring.
If you want to make sure that the seeds germinate properly then try soaking them in warm water for 12-24 hours when you first buy them.
- Fill Seed Trays
When your seeds are ready to be planted you’ll have to fill your seed tray with a high-quality seed-starting mixture.
- Decide How Many Seeds
Are you using new seeds? If so, you can simply plant as many as you bought. However, if they are old then you want to plant 2-3 per hole for the best crop growth.
- Place the Seeds in the Hole
You can make a shallow hole in the mixture with your finger and drop the seed into it. Of course, this is only beneficial if you’re planting them in a tray!
- Cover the Seeds
Gently cover the holes with soil.
- Water
Wate the soil until 20 minutes after when it should have absorbed the moisture thoroughly.
- Cover the Tray
Finally, you have to place a lid over the top to ensure it doesn’t dry out over time. Afterwards, you should place it in a warm location.
This is the easiest way to start out planting broccoli seeds to see how you like them and to experiment with the seeds! Alternatively, you can plant them in the ground. So, you’ll need the following:
Growing Broccoli
Soil: very light area with moist soil
Plant: space 12-24 inches apart
Water: evenly water to keep the soil moist
Care: make sure they have enough air circulation
Problems
Clubroot can also happen with broccoli so you have to ensure there’s enough drainage and add some lime to the soil.
Storing Broccoli Ahead of Time
Did you know that broccoli can last for 12 months in the freezer? It’s a magical vegetable!
In order for broccoli to preserve well, you need to cut and blanch it before putting it in the freezer. After that, you should store broccoli in an airtight container after it’s been dried.
How Do You Know if Broccoli Is Bad?
Broccoli changes colour when it starts going bad. They should be bright green and if there are any signs of yellow spots or discoloured patches then your broccoli is turning spoiled. As well as this you should look out for white, fuzzy mould.
When to Grow Broccoli Before Christmas
Plant these green beauties around June or July and they’ll be ready to cook for Christmas dinner
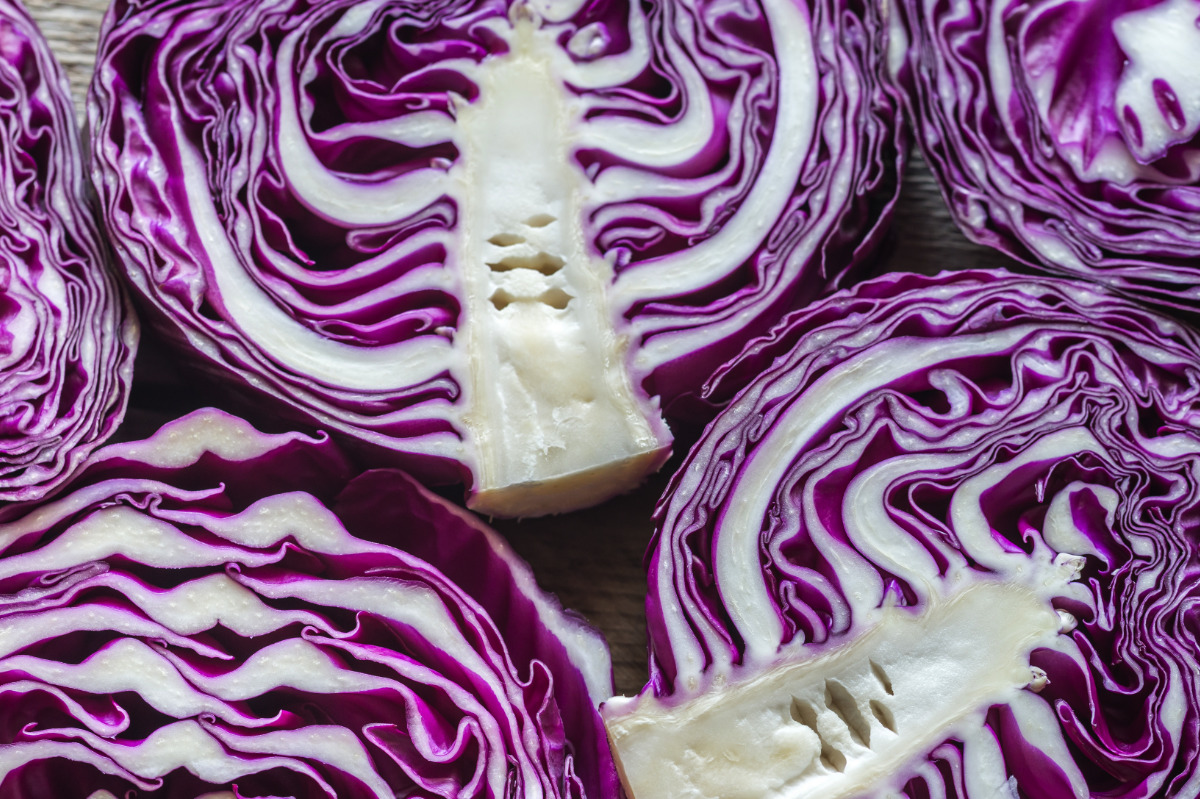
How to Grow Cabbage For Christmas Dinner
Now you might not think that cabbage is very exciting but it can be very tasty. So, you want to make sure that cabbage is added to your Christmas meal list. It’s high in vitamin C and fibre so it brings a great amount of nutrition to your dinner.
You should plant your seeds 50-60 days before the last frost. Therefore, you show sow the seeds in mid-late summer.
Soil: well-draining soil
Plant: lots of sunshine and light
Water: water every 10 days
Care: love nitrogen to thrive
Problems
After all your hard work, the last thing you want is for pests to ruin your crop. That’s why it’s important that you keep an eye out for any signs of flea beetles, cabbage roots, or cutworms. The best way to protect cabbage is to cover them with a floating row cover.
Storing Cabbage Ahead of Time
For two months, the best way to store cabbage is by storing it in a plastic bag in your fridge. This is the only way to make sure it’s still fresh when you want to cook it. Otherwise, you can freeze it for nearly nine months!
How Do You Know if Cabbages Are Bad?
The smell is the fastest way to tell if your cabbage has turned bad. Not only will it smell bad, but it may shrink in size or turn grey.
When to Grow Cabbage Before Christmas
July is the ideal time to plant cabbage for Christmas.
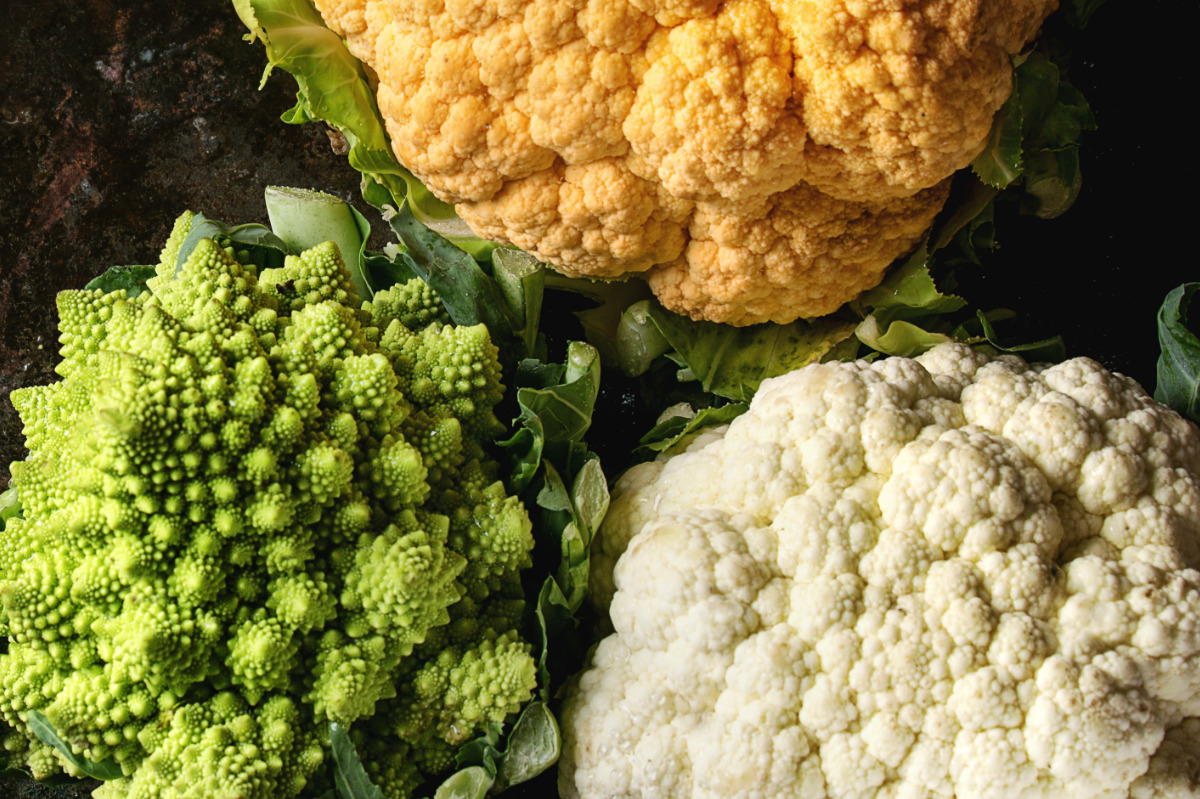
How to Grow Cauliflower For Christmas Dinner
The first thing you need to realise about cauliflower is that it’s sensitive to temperature. It can be too warm or too cold or it might not grow properly. However, it makes for a delicious winter vegetable!
Cauliflower seeds grow the best at 15℃ and no less or they will die. Again, you should plant Cauliflower 4-7 weeks before frost. Also, seed germination usually takes 8-10 days.
If you place them under lights it might help speed up the process!
Growing Cauliflower
Soil: not too fertile soil
Plant: 60cm apart for large cauliflowers and 15cm for smaller ones
Water: every 10 days
Care: add high nitrogen fertilizer when growing well
Problems
Young cauliflowers are prone to aphids and cabbage worms. If you think your crop might have these problems then you should use a plant-friendly pesticide.
Storing Cauliflower Ahead of Time
Just like with other vegetables you can store cauliflower in a bag in the fridge. Just make sure to leave room for a little air circulation and don’t tie the bag too tightly. You can also freeze them in a container for 10-12 months.
How Do You Know if Cauliflower Is Bad?
Whenever you see dark brown or black spots you’ll know that your cauliflower is off.
When to Grow Cauliflower Before Christmas
You should grow cauliflower from March to May if you want them ready for Christmas.
How to Grow Horseradish For Christmas Dinner
If you’re looking for a vegetable that you can harvest all year round then horseradish is the best option. Your seeds should be kept inside in January and February and planted in April. Basically, as long as the soil is between 7-23°C.
Growing Horseradish
Soil: well-drained, warm soil
Plant: 20cm apart
Water: once a week
Care: 1 cup of organic fertilizer every 3m of a row
Problems
You’ll be able to hear that there are no common problems with growing horseradish so it’s an easy, simple choice!
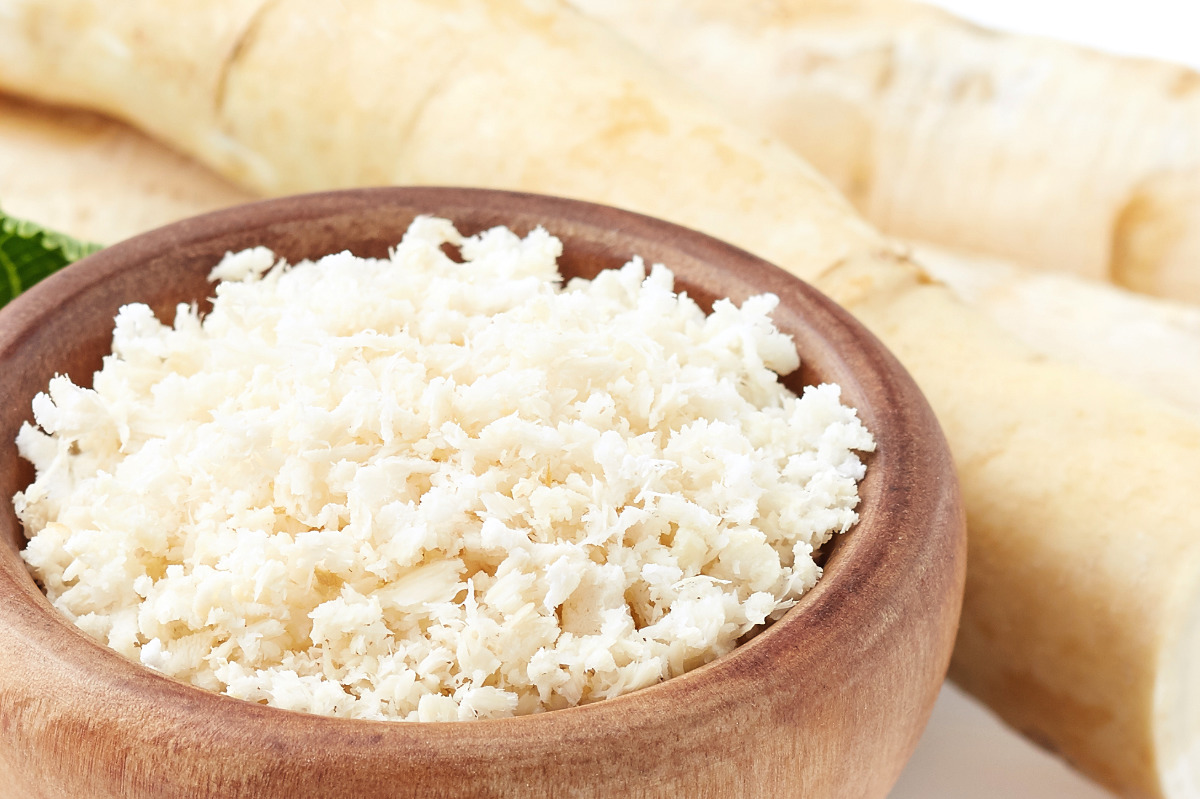
Storing Horseradish Ahead of Time
Do you have a space jar around the house? Well, you’ll be happy to know that you can use it to store your horseradish. Then, you can place them in the fridge or freezer. As long as you tightly conceal them in a jar you can freeze horseradish for 4-6 months.
How Do You Know if Horseradish Is Bad?
Again, if it feels soft or has a smell then it probably has turned bad. The same rule applies if it grows mould.
When to Grow Horseradish Before Christmas
Horseradish should be planted in April.
How to Grow Peas For Christmas Dinner
Who doesn’t love the sweet taste of fresh peas? A tin of peas is just not the same. Fresh peas have a great texture and taste so they are worth growing and adding to your Christmas dinner.
All you need to grow these tasty vegetables is fertile soil and the right support. You should use pea sticks to support the growth of young peas. The average length of time it takes to grow peas is three months. So, you definitely have enough time to grow them before Christmas comes around!
Growing Peas
Soil: well-drained soil
Plant: 3cm deep and 22cm wide
Water: water continuously
Care: space 10cm apart
Problems
Your pea plant leaves might take a while to bloom. This could be due to the climate as it might be too warm. It could also be due to the fact that you’re overusing the fertilizer.
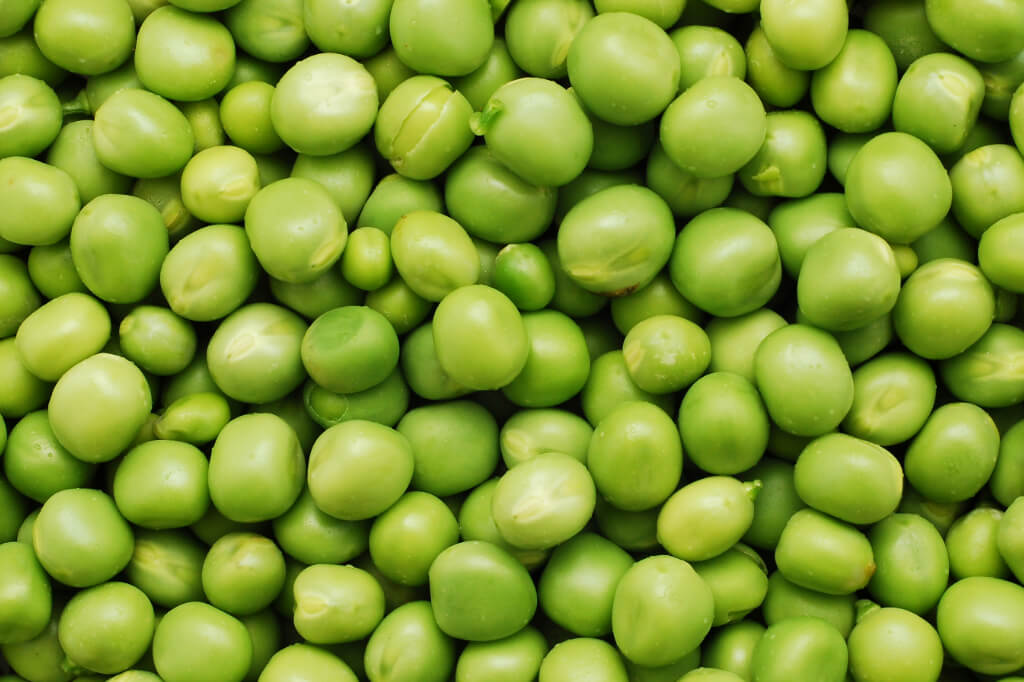
Storing Peas Ahead of Time
Peas need to be consumed fairly quickly once they have been harvested. You can keep them refrigerated for 5-7 days and can be frozen for a week. However, you shouldn’t store them cold for too long as they will become soft and turn brown.
How Do You Know if Peas Are Bad?
If you notice any white liquid around your peas or an unusual smell you can be sure that they have spoiled and you shouldn’t eat them.
When to Grow Peas Before Christmas
Most people start to grow peas in spring when the weather gets warmer. That way, you’ll have them for winter.
Now you have everything you need to grow your own Christmas dinner for next year so you can surprise everyone with a wonderful homecooked meal picked straight from your garden!
Happy Planting!